
Fabric Stenciling Fundamentals
What You Will Understand by the End
- You will create a clean stenciled fabric piece ready for display
Securing the Setup
A clean result in fabric stenciling starts before any paint touches the surface. Stability and preparation directly affect edge sharpness and control.
Lay the fabric on a flat, firm surface. Smooth out all wrinkles without stretching the fabric unnaturally.
Place a firm, flat protective layer, such as cardboard or thick cardstock, under the fabric. This creates a stable surface and prevents paint from transferring through to the back. It controls both cleanliness and absorption behavior.
Position the stencil carefully on the fabric. Once aligned, secure it by taping the corners with masking tape to hold it in place. Even minimal movement during application will affect edge clarity and overall precision.
Controlled Paint Application
The quality of your stencil result is determined by how you handle the paint.
As discussed in Lesson 1, fabric absorbs paint differently than paper or hard surfaces. Excess paint spreads into fibers, while uneven pressure creates inconsistency. Clean results come from restraint and repetition, not force.
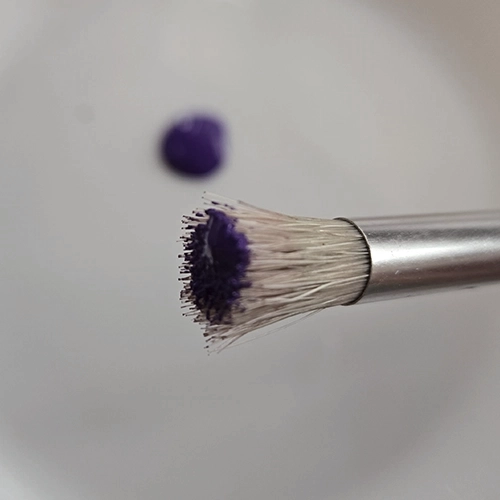
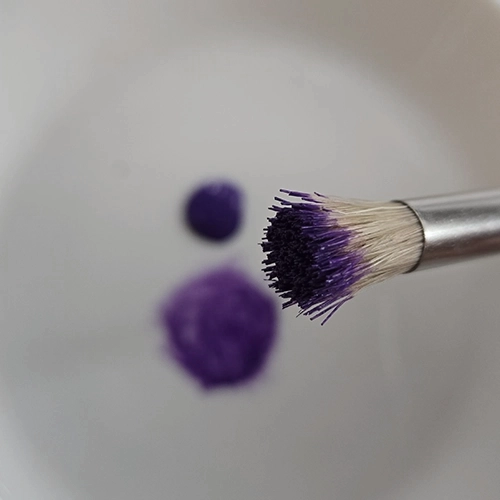
Managing Paint Amount
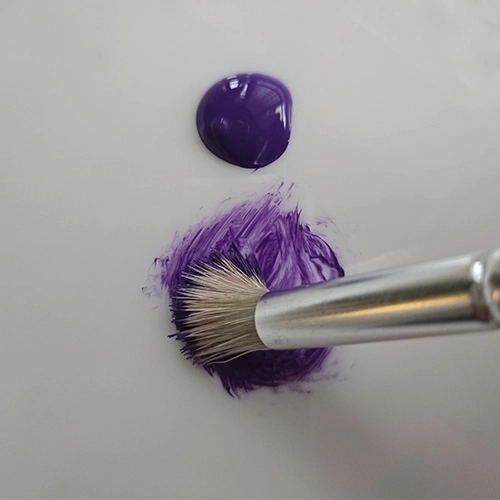
Pick up a small amount of paint with your brush. Then work the brush on a flat palette surface, moving it in circular motions so the paint spreads evenly through the bristles. This step also removes excess paint.
If you’ve picked up too much paint, offload it onto a paper towel until the brush is no longer overloaded.
The brush should not feel wet or saturated, and not completely dry either. It should be evenly loaded with a controlled amount of paint for gradual application.
Brush Handling
Work with a stable grip and keep the brush vertical to the fabric. Avoid dragging or sweeping motions. Use gentle tapping or dabbing to control how the paint transfers through the stencil.
Pressure
Apply light, consistent pressure. Too much pressure pushes paint under the stencil edges and causes bleeding. Too little creates uneven coverage. Maintain a steady hand throughout the process.
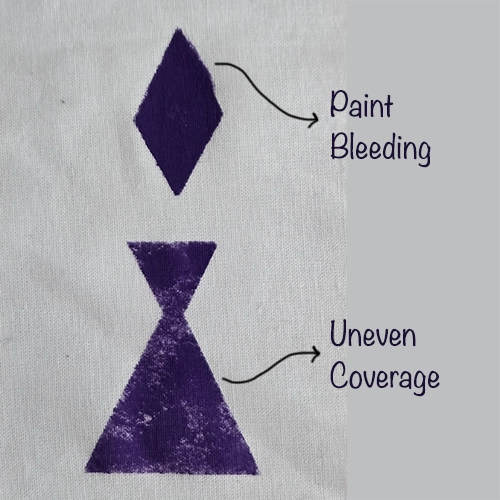
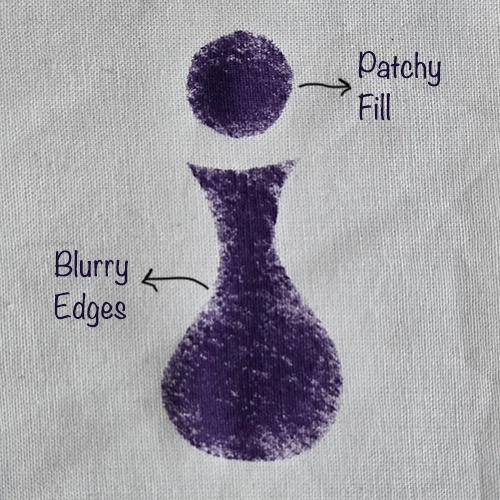
Avoiding Common Issues
Bleeding happens from excess paint or pressure.
Patchiness comes from uneven loading or inconsistent movement.
Distortion occurs when the stencil shifts or the tool is dragged.
All of these are controlled by reducing paint, stabilizing your hand, and building the color gradually.

Clean Edges & Surface Awareness
In fabric stenciling, the surface is not solid. Fabric has texture, gaps between fibers, and varying absorbency. Paint does not sit on top—it spreads into the material. The softer or more open the weave, the more control you need.
Maintaining Clean Edges
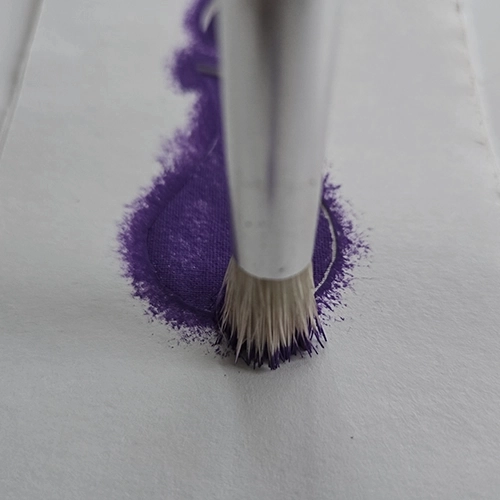
Clean edges depend on two things: contact and control.
The stencil must sit flat against the fabric. Any gap allows paint to slip underneath.
Use a nearly dry brush and build the color slowly. Apply paint with vertical dabbing motions, focusing on the stencil edges first with extra control. Edges define the quality of the work, so do not rush full coverage!
Surface Awareness While Working
Pay attention to how the fabric reacts as you apply paint. If the surface starts to feel damp or saturated, stop adding paint. Let it settle before continuing. Overworking one area leads to spreading and loss of sharpness.
Different fabrics behave differently. A tight, smooth fabric holds edges better. A loose or textured fabric requires lighter application and more patience.
Clarity Over Coverage
In fabric stenciling, a slightly lighter but clean result is stronger than a fully filled but blurry one. Prioritize edge clarity, then build intensity gradually without losing control.

Drying & Heat Setting
After painting, the paint first settles on the surface, then gradually stabilizes as it absorbs into the fibers. Avoid touching or moving the piece during this stage. Let the work dry completely before any heat is applied. Drying time depends on paint thickness, fabric type, and room conditions, but the key rule is simple: no heat until the surface is fully dry to the touch. Once fully dry, use a regular iron without steam and set it to a moderate temperature. Not too hot! Place a protective layer (such as a cotton cloth or baking paper) over the design and apply even heat. This step fixes the paint into the fabric and makes the result more durable.
Practice Exercise: First Complete Fabric Stenciling
This exercise is designed to help you create a clean, visually appealing fabric stenciling piece that is ready to present or use.
Steps:
- Choose a simple, well-defined design that works well for fabric stenciling
- Select a light-colored fabric with a smooth surface, based on what you learned earlier
- Pick a paint color that contrasts clearly with your fabric
- Set up your workspace properly (flat surface, protective layer underneath)
- Fix the stencil securely onto the fabric
- Apply the paint using controlled, light layers and focus on clean edges
- Let the piece dry completely, then heat set it using an iron
Optional (Recommended):
- Take photos or short videos during the process to document your work
- Capture your final result clearly
Note: If you’re happy with your result, share your work and tag our Instagram so we can see it and enjoy your progress.
Video Reference: Practice Idea
This video is a simple example to help you get an idea for your practice. You can watch it for inspiration before starting your own piece.
g Soon!Continue Your Learning Path
In this lesson, you focused on controlling the full fabric stenciling process. In the next lesson, you will go deeper into finishing and longevity. You’ll learn how to properly fix and preserve your fabric work, along with essential brush care to maintain your tools over time.
➡ Next Lesson: Fabric Finishing & Tool Care
Coming Soon 🙂
There are no reviews yet. Be the first one to write one.