
Cookie Dough Basics 2
Tools, Setup, Control & Troubleshooting
What You Will Understand by the End
How tools, ingredients, and preparation methods impact dough performance
How to roll, cut, and handle dough with consistency and precision
How to troubleshoot common issues and store dough and cookies correctly
Tools, Ingredients & Workspace Setup
When decorating with royal icing, structure is non-negotiable. A no-spread sugar cookie provides a stable, flat surface that maintains sharp edges after baking. This stability allows precise outlining, clean flooding, detailed piping, and layered designs without distortion. Softer or spreading doughs may taste excellent, but they compromise edge definition and surface control—two factors essential for professional decorative work. For consistent, high-quality results, a structured no-spread base is the standard.
Professional results are not accidental. They are the outcome of controlled tools, accurate measurement, and an organized workspace. Before focusing on design, execution must be technically sound.
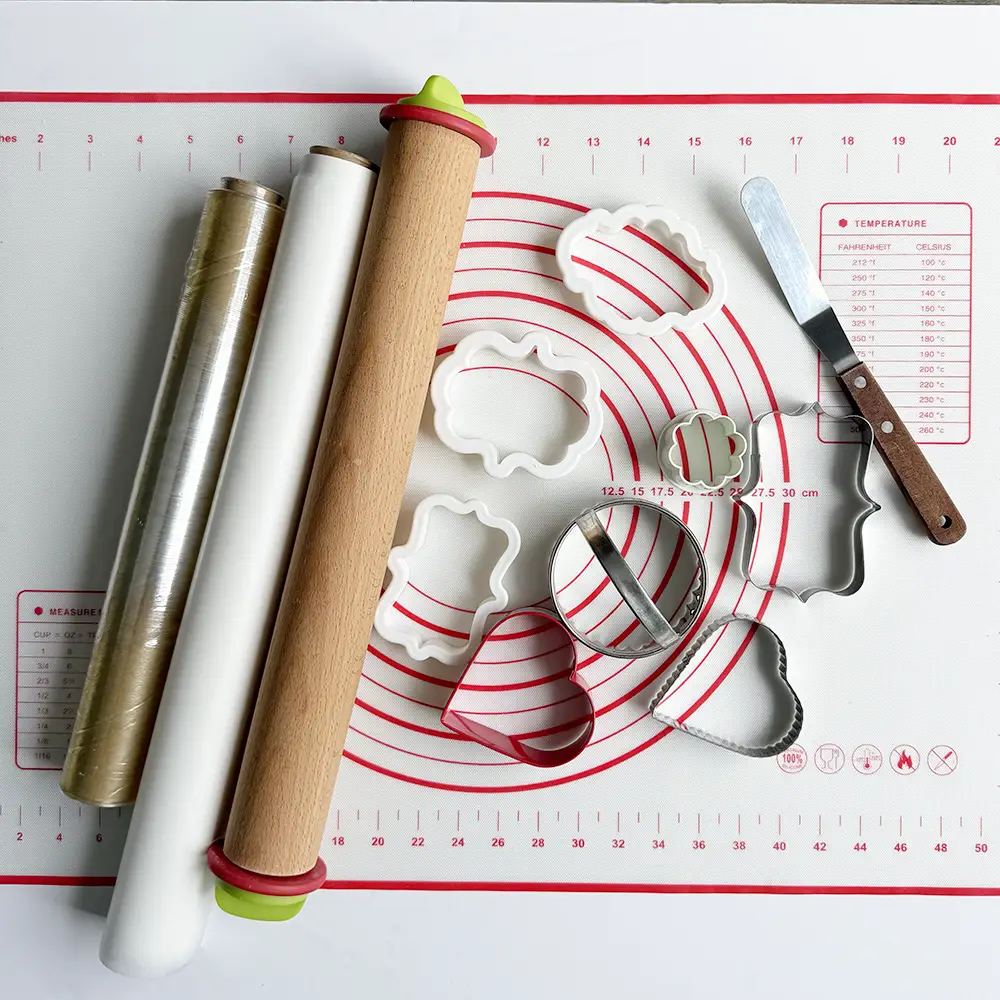
Essential Tools
A streamlined, intentional setup supports consistency and efficiency. Core tools include:
- A rolling pin, preferably with thickness guides
- Silicone mat or baking mat
- Parchment paper or plastic food wrap
- Sharp cookie cutters
- Digital kitchen scale (recommended over volume measuring)
- Cooling rack
- Spatula or cookie lifter
Thickness guides or leveling rings are particularly important. Uniform dough height directly influences heat distribution, even baking, and final structural integrity. In decorative cookie work, inconsistency in thickness often leads to doming, uneven surfaces, or fragile centers.
Sharp cutters also matter. Clean pressure creates defined edges before baking, which translates into sharper finished designs.
Ingredients That Influence Performance
Each ingredient contributes to structure, texture, and spread control. Decorative cookies are technical formulas—not casual mixtures.
- Flour builds structure. Inaccurate measurement can cause excessive spreading or dryness.
- Butter provides flavor and tenderness. It should be softened, not melted, to maintain proper emulsification.
- Sugar influences spread and browning.
- Eggs bind ingredients and contribute to stability.
- Salt enhances flavor balance.
- Baking powder provides controlled lift; excessive amounts increase spread.
- Cornstarch improves edge definition, reduces spread, and supports a tender yet crisp finish.
Precision is critical. Even small inconsistencies in measurement alter texture, spread behavior, and surface smoothness. For professional results, weight measurement is strongly recommended.
Workspace Setup
Environment plays a larger role than many beginners realize. Temperature, surface condition, and organization all affect dough handling.
Work on a cool, clean surface. Avoid high room temperatures, as warmth softens butter and increases spreading risk. Keep tools arranged and accessible to reduce unnecessary handling time. If the dough becomes soft during rolling or cutting, return it to the refrigerator briefly to restore firmness.
Minimal handling limits gluten development, which improves shape retention and prevents shrinkage. Controlled handling leads to cleaner edges and a smoother decorative surface.
With the correct base, tools, and environment established, the decorating process becomes significantly more controlled and predictable..

Dough Preparation, Rolling & Troubleshooting
Preparation and rolling are two distinct technical stages. When treated separately and executed with control, they produce a stable, professional-quality cookie base.
Step 1: Proper Dough Preparation (Before Rolling)
Strong decorative results begin with disciplined preparation.
Use high-quality ingredients. In structured dough formulas, ingredient quality directly affects texture, stability, and flavor balance.
Measure flour accurately using a digital scale whenever possible. If using cups, apply the spoon-and-level method to avoid excess flour, which can dry the dough and create cracking.
Use room-temperature ingredients to ensure even mixing and proper emulsification. Butter should be softened—not melted—to maintain structural balance.
Mix only until the dough pulls away from the sides of the bowl. At this stage, the dough has developed sufficiently. Continued mixing activates excess gluten, leading to shrinkage, toughness, and distortion during baking.
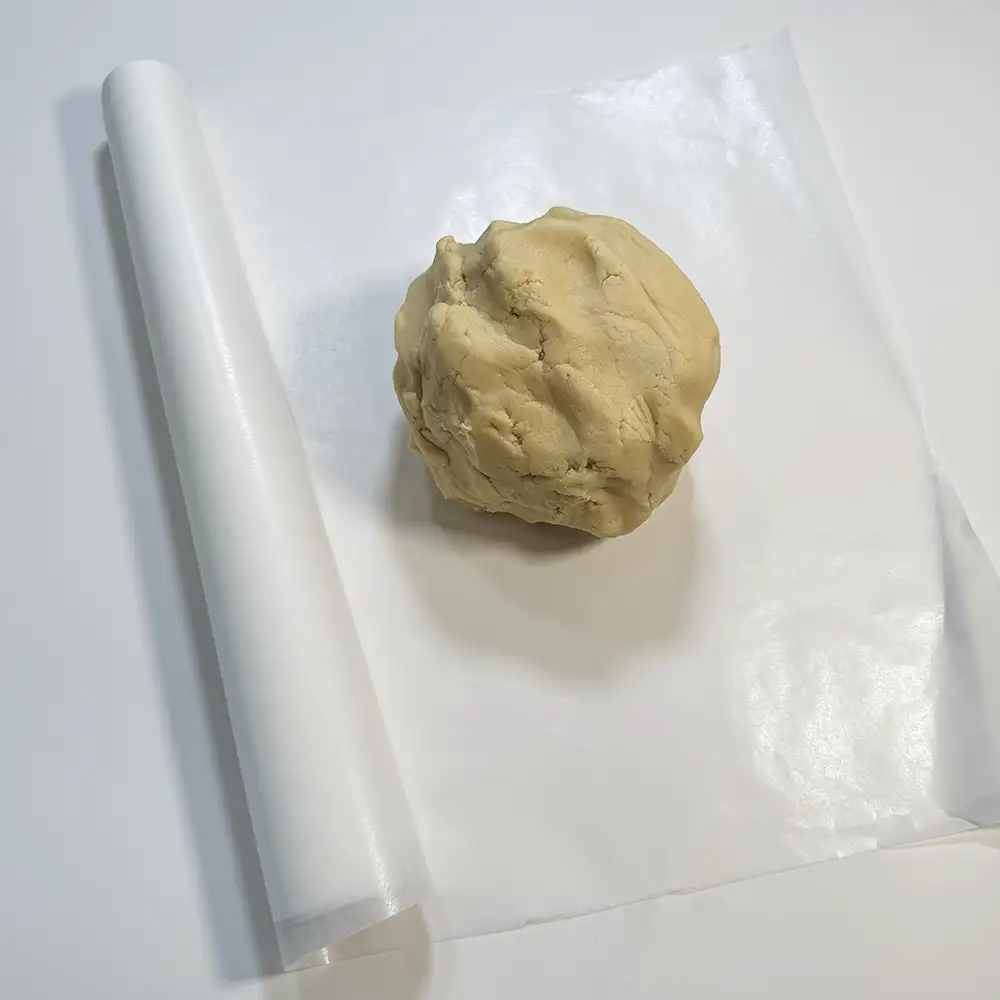
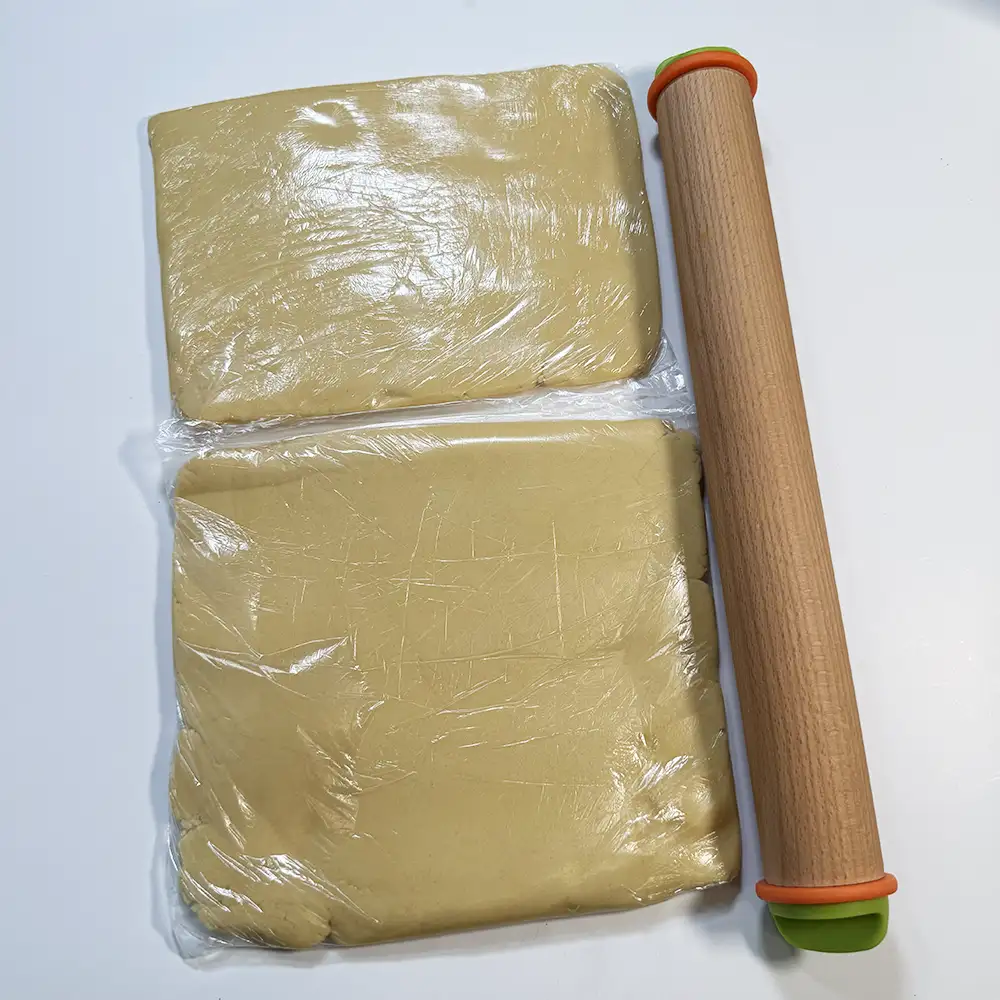
If you plan to roll the dough at 6–8 mm thickness, divide it into two or three equal portions before chilling. Smaller sections are easier to manage, maintain temperature control, and reduce overhandling.
The goal at this stage is cohesion—not elasticity. Once combined, stop mixing.
Step 2: Rolling & Cutting with Control
Rolling is a structural process—not simply shaping dough.
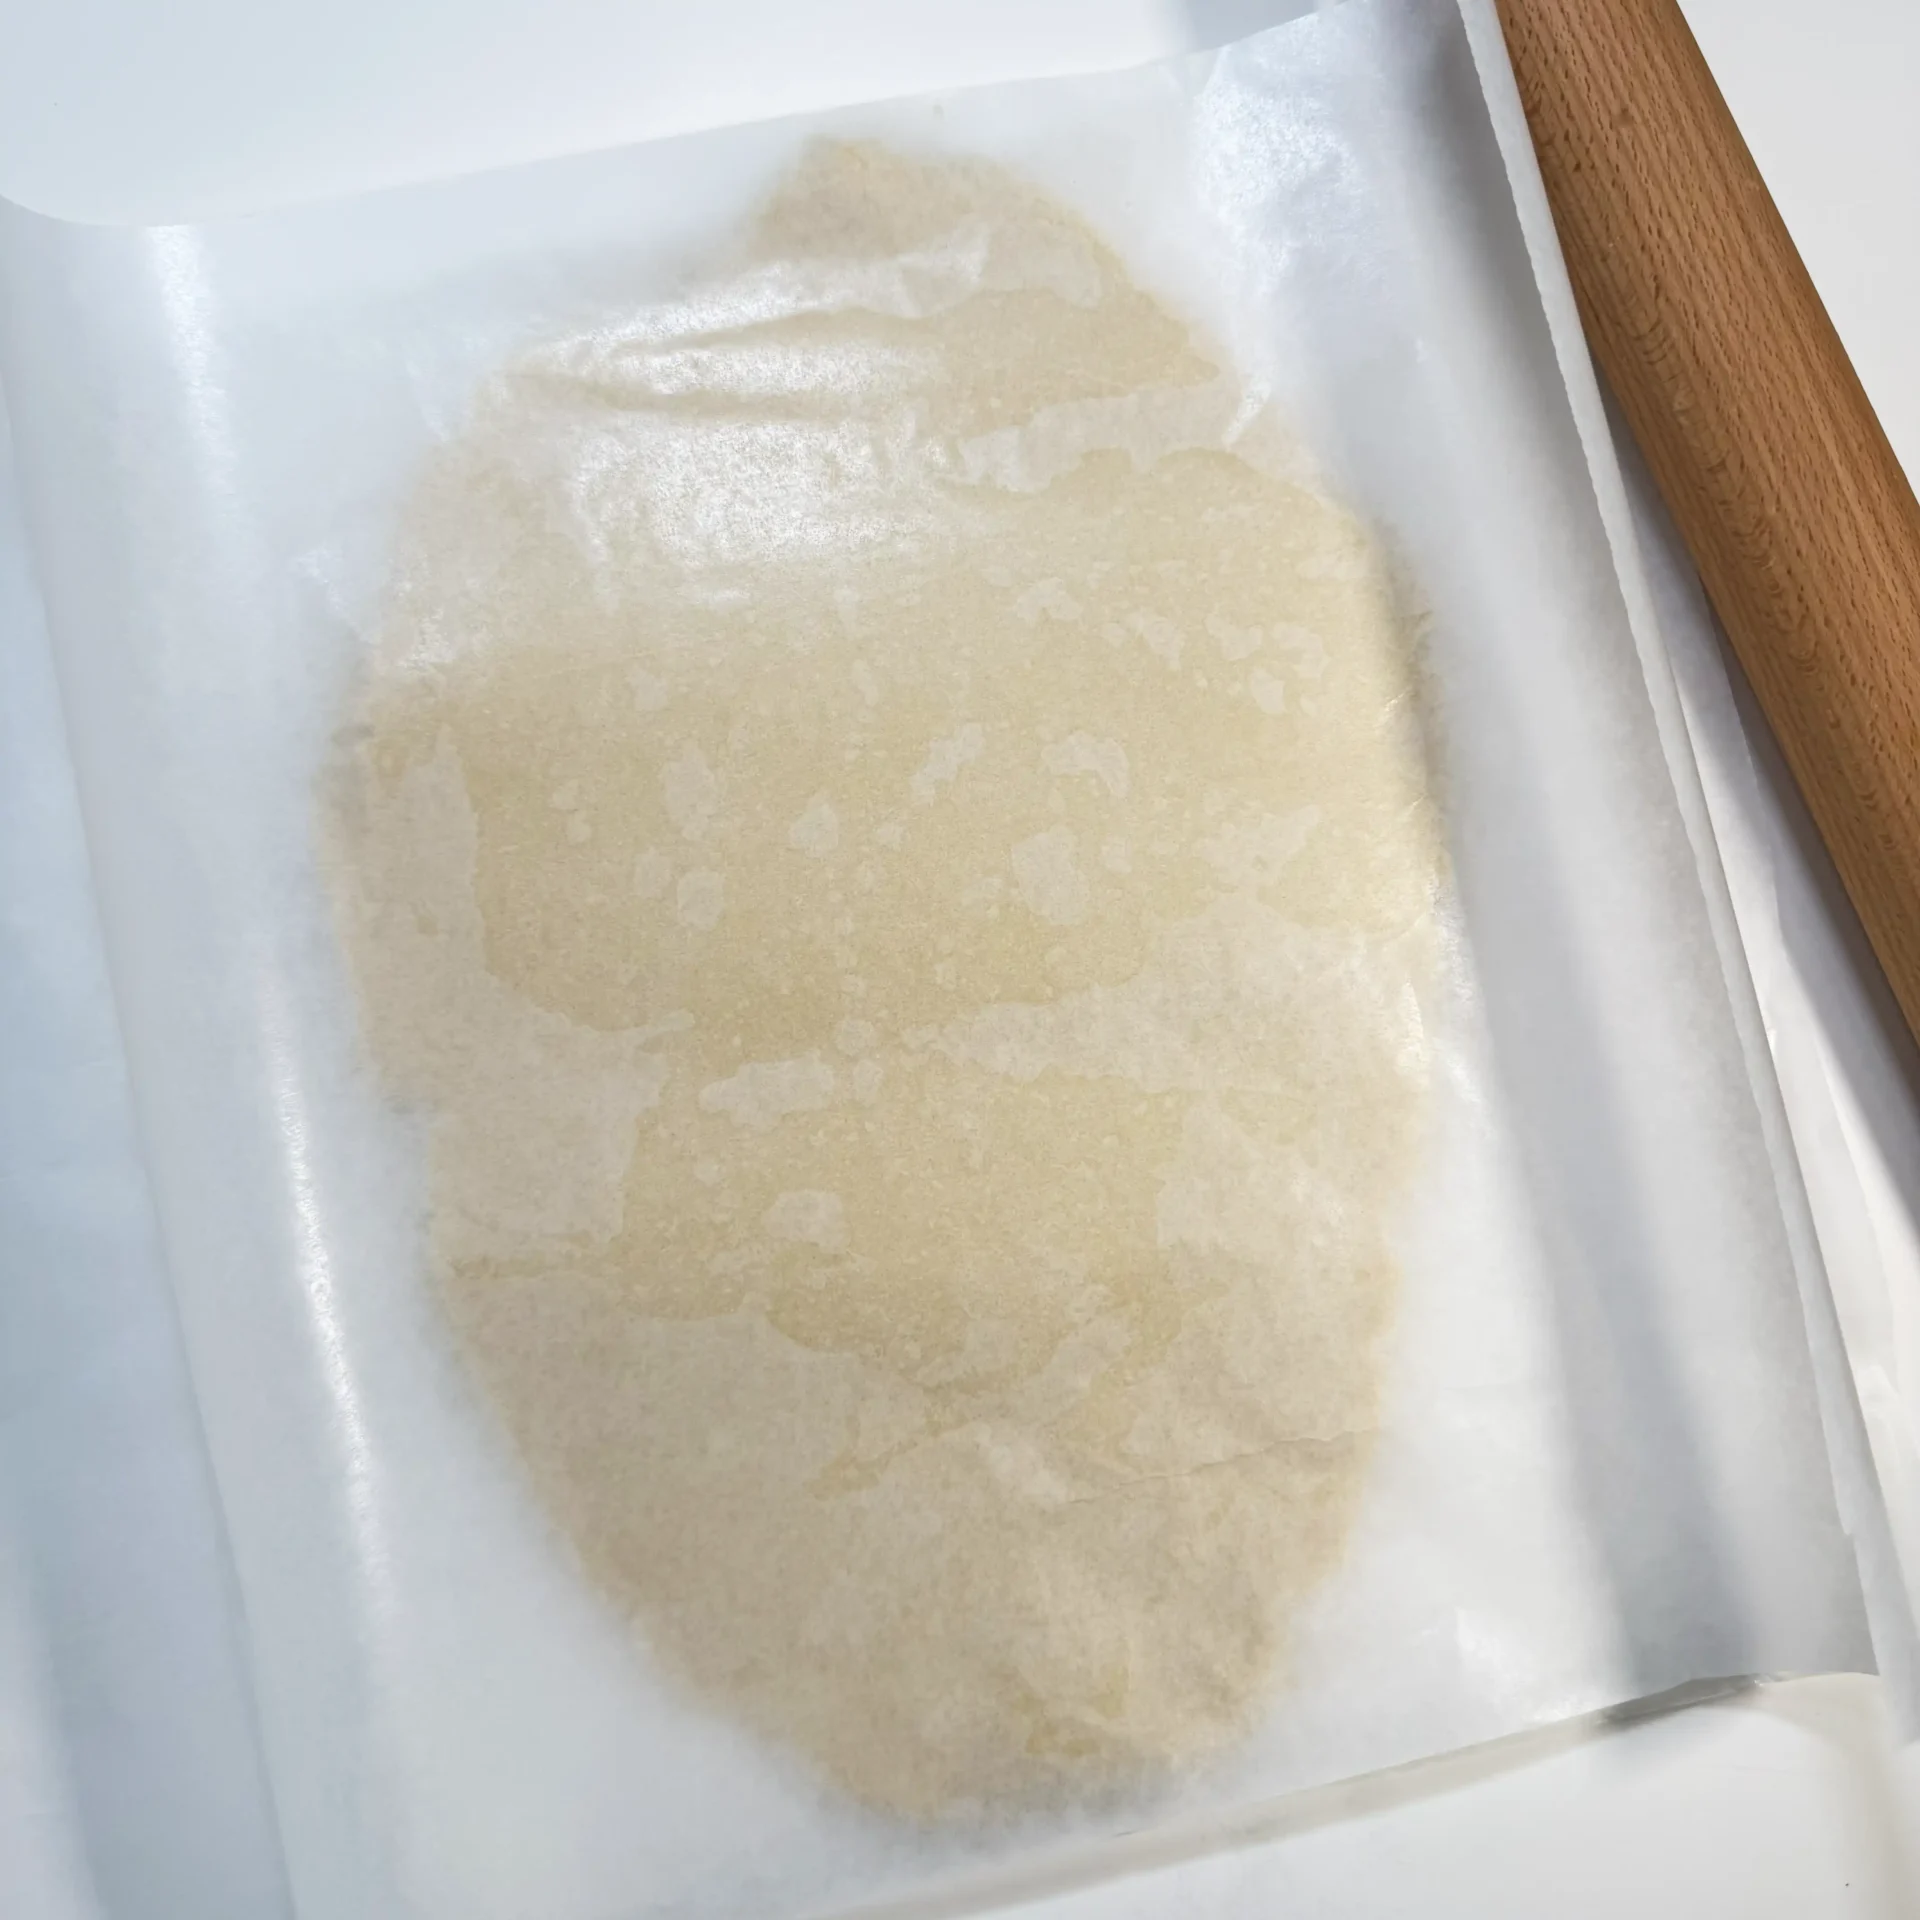
Place each dough portion between two sheets of parchment paper, baking paper, or plastic wrap. This reduces sticking and eliminates the need for excess flour, which can alter texture.
Roll from the center outward using even pressure. Maintain a consistent thickness of approximately 6–8 mm. Thickness guides or leveling rings are strongly recommended to ensure uniformity.
Each time dough is re-rolled, gluten continues to develop. Excess re-rolling produces tougher cookies and slight shape distortion. Work efficiently and minimize scraps whenever possible.
If the dough becomes soft or sticky, chill it before continuing. Temperature control directly affects edge retention and final structure.
When cutting shapes, apply firm, clean pressure without twisting the cutter. Twisting can compress edges unevenly and compromise shape definition.
Proper Spacing on the Baking Sheet
Arrange cookies on a lined baking sheet with adequate spacing between each piece. Even no-spread dough requires airflow to bake evenly. Insufficient spacing may cause edges to touch or create uneven browning.
A consistent gap of approximately 2–3 cm between cookies is generally sufficient for structured sugar cookies.
Baking Time & Thickness Control
Baking time depends on both cookie size and thickness. Thicker cookies require slightly longer baking, while smaller shapes bake faster.
As a general guideline:
Bake until the surface appears set.
Edges should be lightly golden, not dark brown.
Centers should remain stable but not overly browned.
Overbaking results in dryness and brittleness. Underbaking can lead to structural weakness during decorating.
Consistent thickness ensures even heat distribution, predictable baking time, and a flat, stable surface ready for royal icing application.
Common Dough Problems & Solutions
Technical issues are diagnostic indicators. Understanding their cause allows precise correction.
Sticky Dough
Cause: Warm butter or insufficient chilling.
Solution: Refrigerate briefly before rolling.
Cracking While Rolling
Cause: Excess flour or overworked dough.
Solution: Allow the dough to rest slightly at room temperature before continuing.
Cookies Puff and Spread
Cause: Butter too warm, inadequate chilling, or excessive leavening.
Solution: Chill cut cookies before baking and verify measurements.
Uneven Thickness
Cause: Inconsistent rolling pressure.
Solution: Use thickness guides or leveling rings.
Surface Bubbles
Cause: Trapped air during mixing or uneven rolling pressure.
Solution: Roll evenly and avoid overmixing.
Overbaking vs. Underbaking
Overbaked cookies become dark and brittle, compromising flavor and surface quality.
Underbaked cookies may lack internal stability and feel fragile during decorating.
Each outcome provides technical feedback. Controlled adjustments—not guesswork—lead to consistent, professional results.

Storage & Preparation Ahead
Proper storage preserves structure, flavor, and decorating stability.
Storing Baked Cookies
Store in an airtight container at room temperature for up to 1 week
- Freeze undecorated cookies for up to 2 months
- Always bring frozen cookies to room temperature before decorating
For events, baking 2–3 days in advance provides the best balance of freshness and efficiency.
Storing Dough
- Refrigerator: Up to 2 weeks
- Freezer: Up to 3 months
Freezing is an excellent strategy for event preparation.
Freezing Methods
Pre-Roll Method
Roll dough between parchment sheets to about 6 mm thickness.
Stack, wrap tightly, refrigerate up to 24 hours or freeze up to 1 month.
If frozen, thaw in the refrigerator before cutting.
Pre-Cut Method
Cut shapes, freeze on a lined tray, wrap securely, and bake directly from frozen.
Add approximately 2 minutes to baking time.
Freezing does not reduce quality when done correctly—it increases workflow efficiency.
Reference Cookie Dough Recipe
A tested, no-spread cookie dough recipe is included as a baseline for this course.
It is formulated to produce clean edges, smooth surfaces, and reliable decorating stability.
You may use your own recipe, but for consistent results, starting with the provided formula is recommended.
For a full walkthrough and demonstration, watch the official Raindow Art Café video below:
▶ Watch on Raindow Art Café YouTube
Continue Your Learning Path
You now understand how to prepare, control, troubleshoot, and store cookie dough for professional decorating.
In the next lesson, you will move from structure to surface design.
➡ Next Lesson: Royal Icing Fundamentals
Consistency, color control, and surface inter action.A stable decorating surface comes from disciplined preparation—not just a good recipe.