
Cookie Dough Basics 1
Understanding Dough as Your Decorative Foundation
What You Will Understand by the End
- How cookie dough functions as a decorative surface.
- How to prepare a stable, professional-quality base for detailed work.
The Dough as a Canvas
Before you decorate a cookie, you need to understand what you’re decorating on.
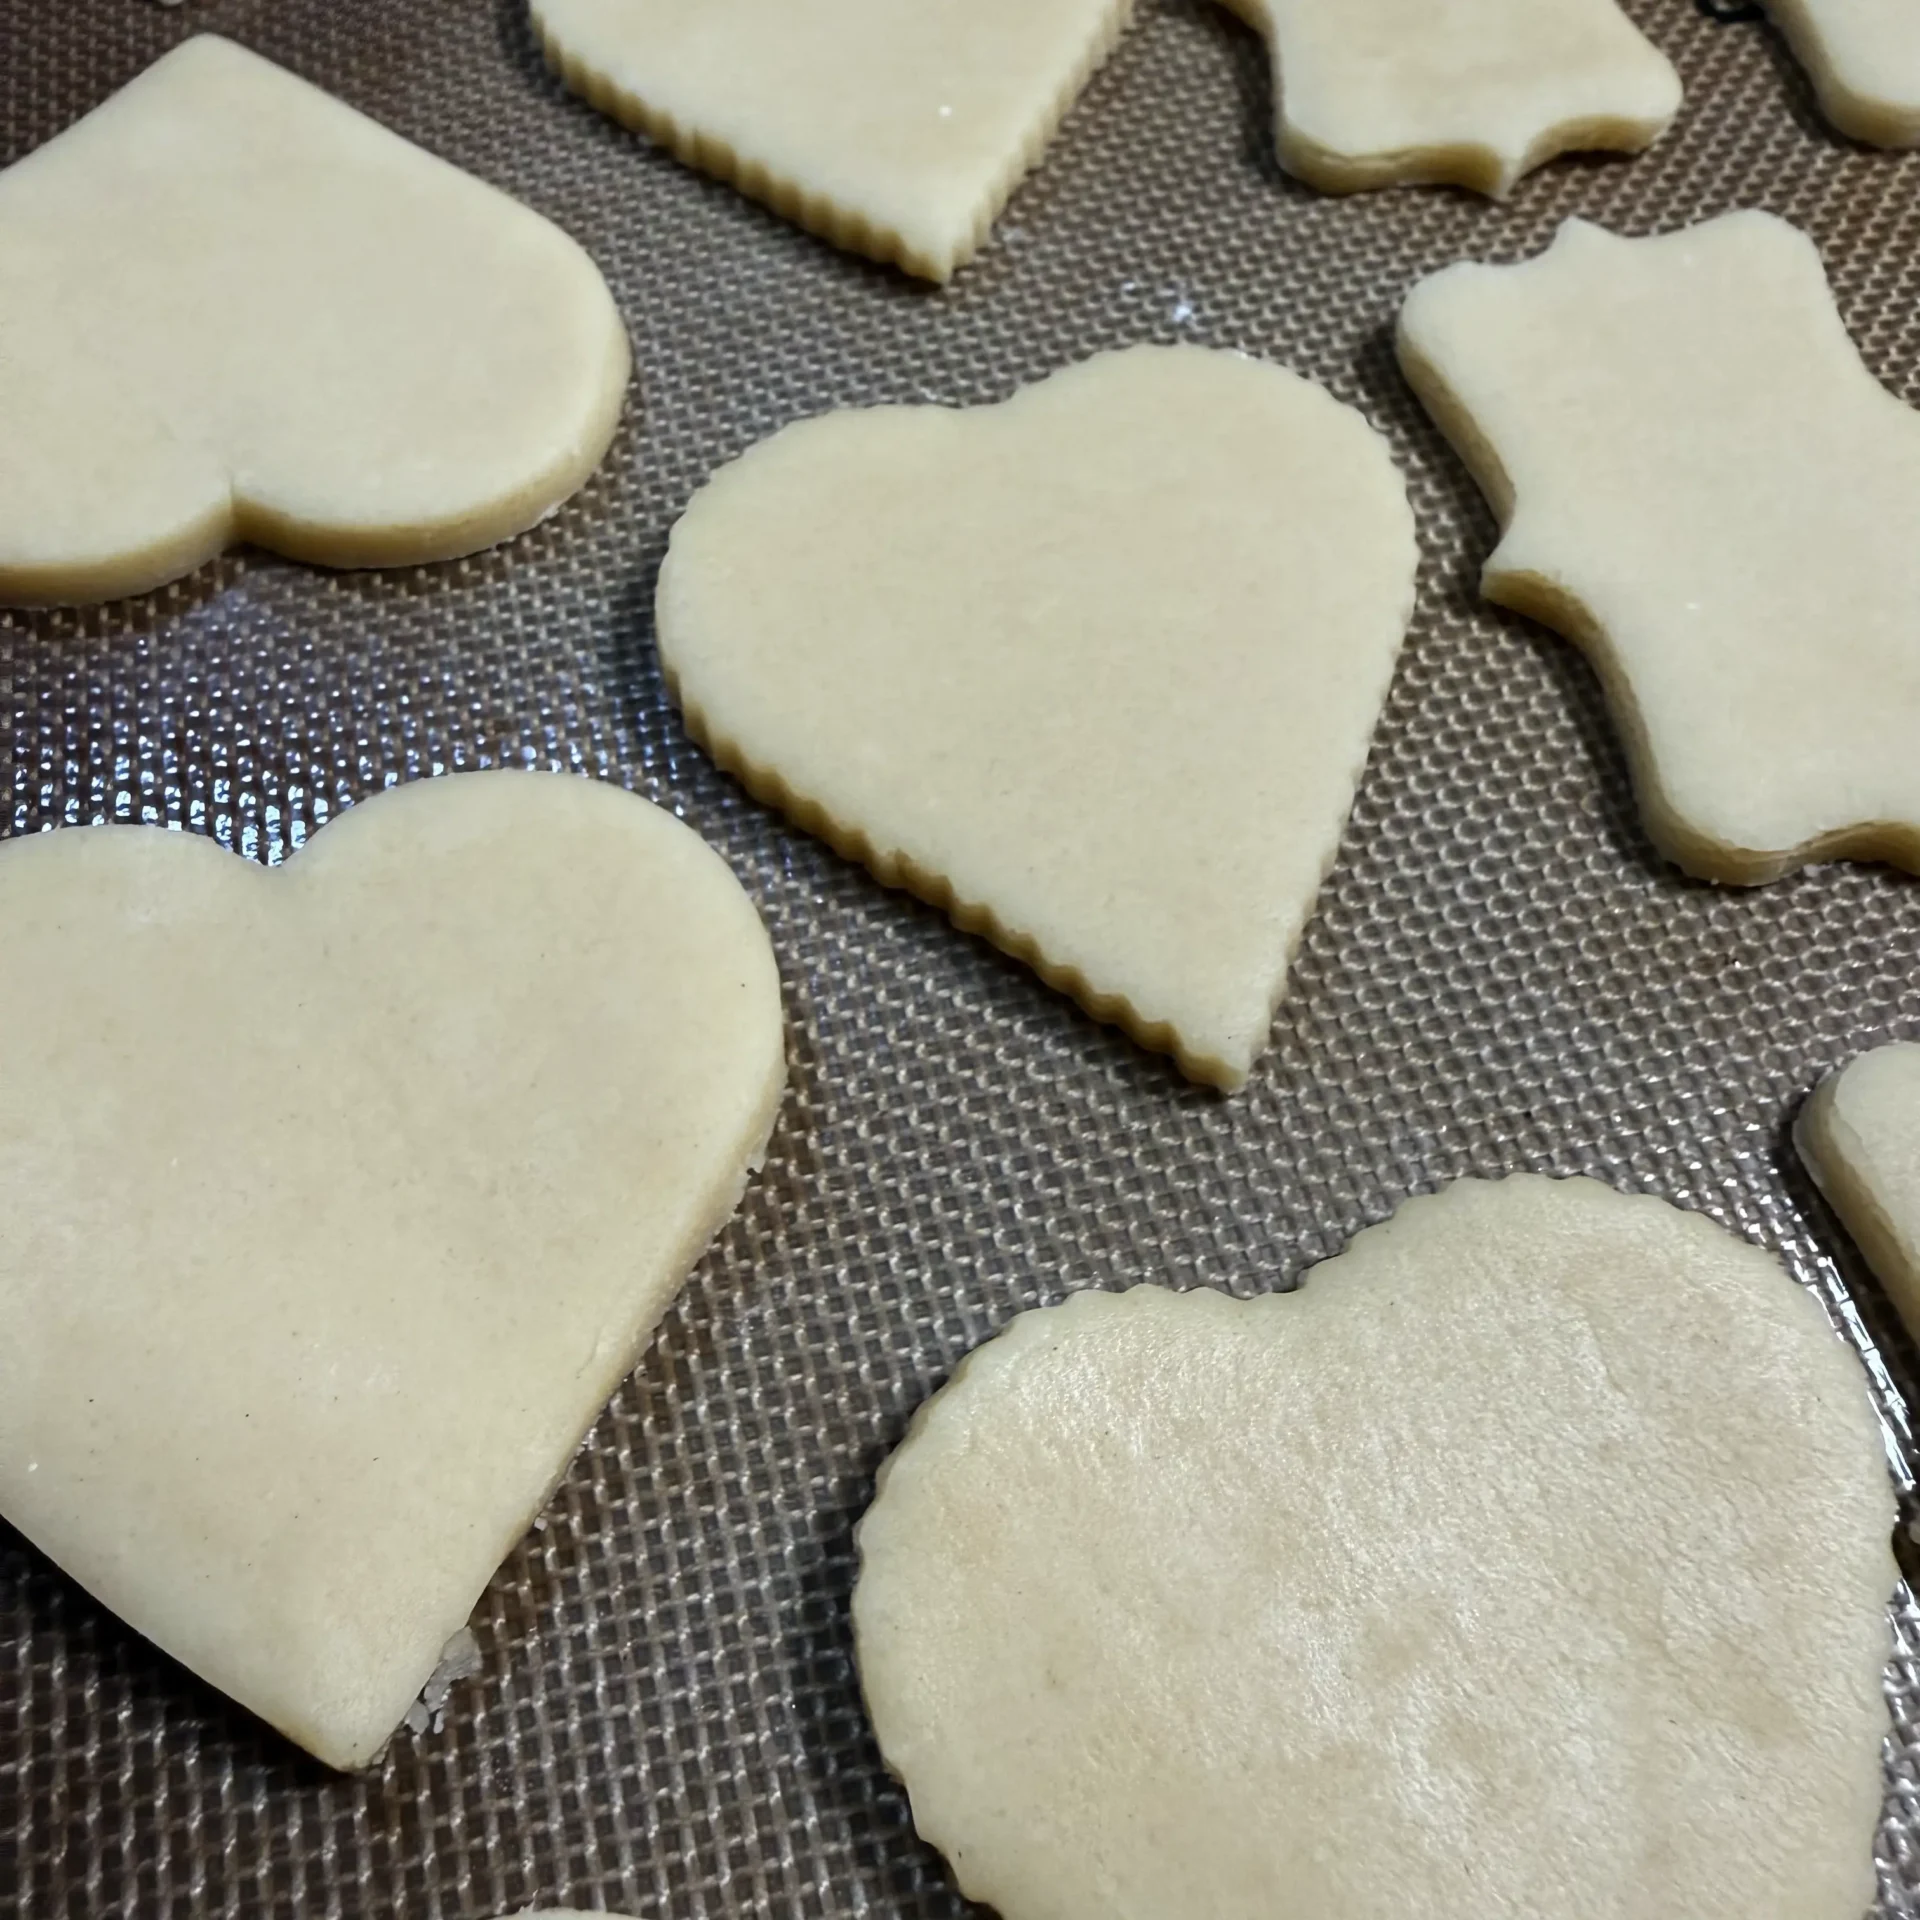
In cookie art, dough is more than a recipe—it is your working surface. Its structure, moisture level, and thickness directly influence how your final design performs.
When dough is properly balanced, it will:
- Hold its shape in the oven
- Bake evenly
- Create a smooth, stable surface for icing
When it is not properly balanced, you may see:
- Spreading edges
- Cracks or surface bubbles
- Loss of shape definition
Think of dough as your canvas. If the foundation isn’t stable, decoration becomes unnecessarily difficult.
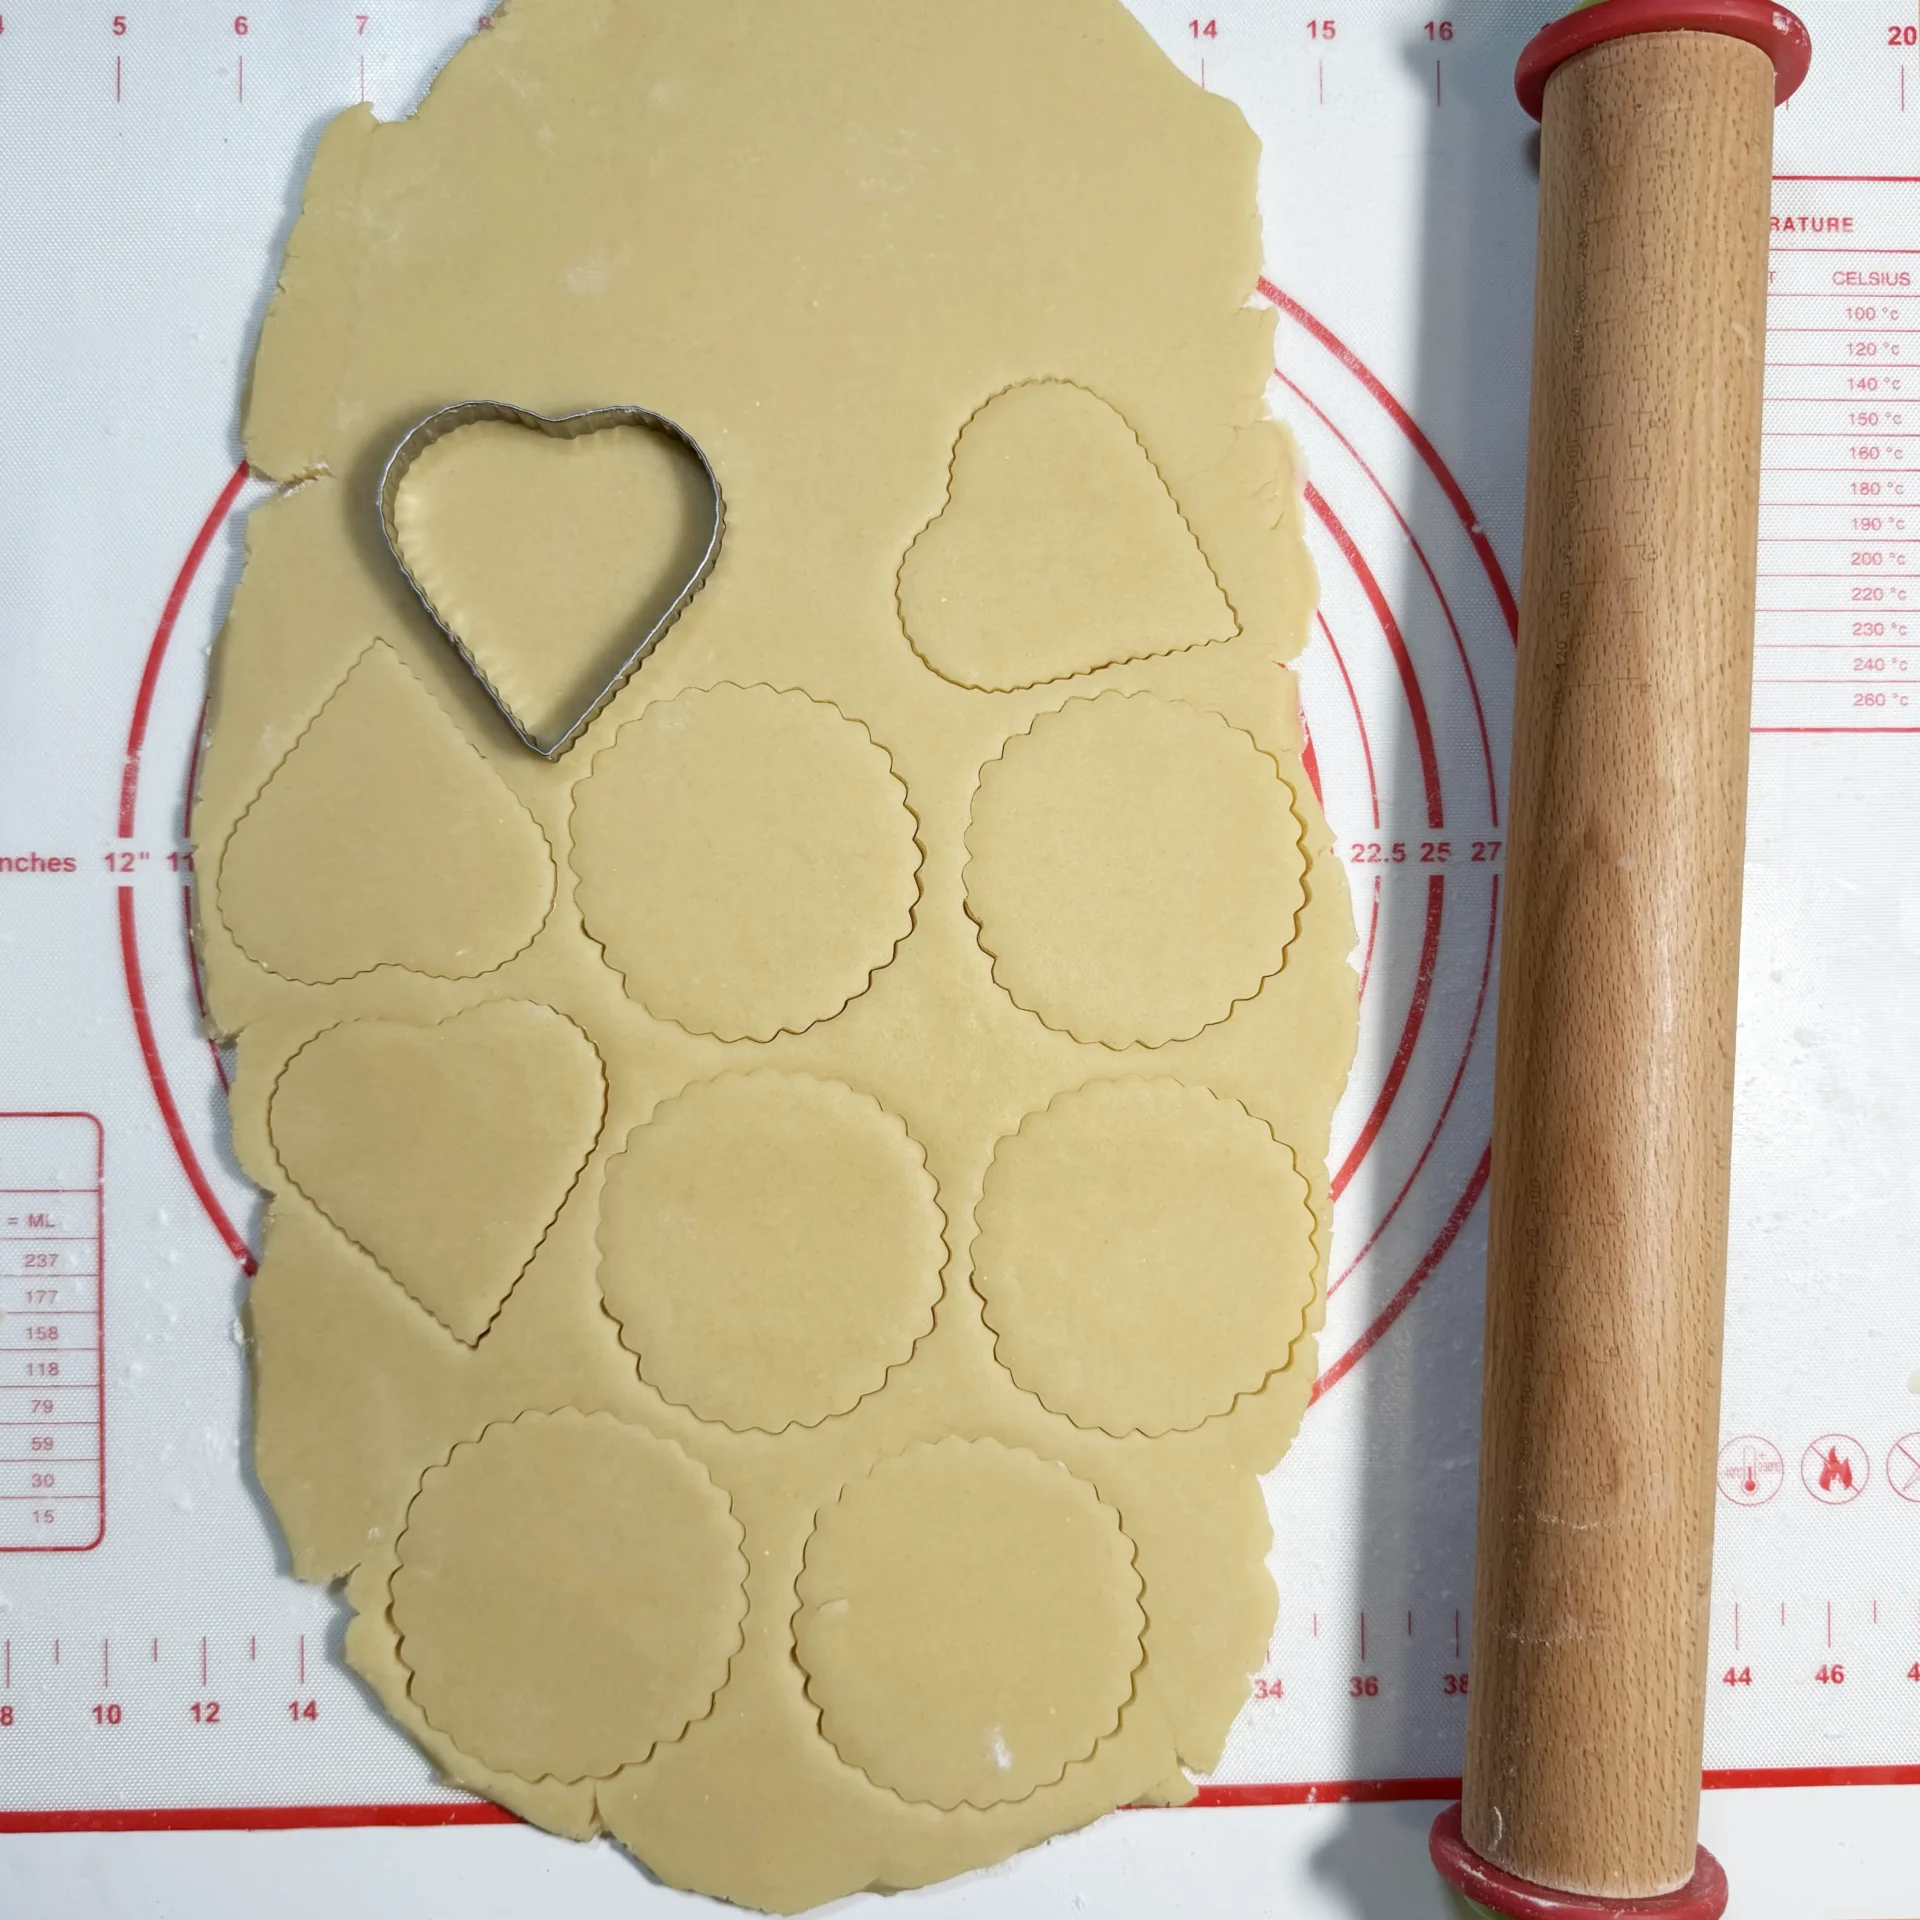
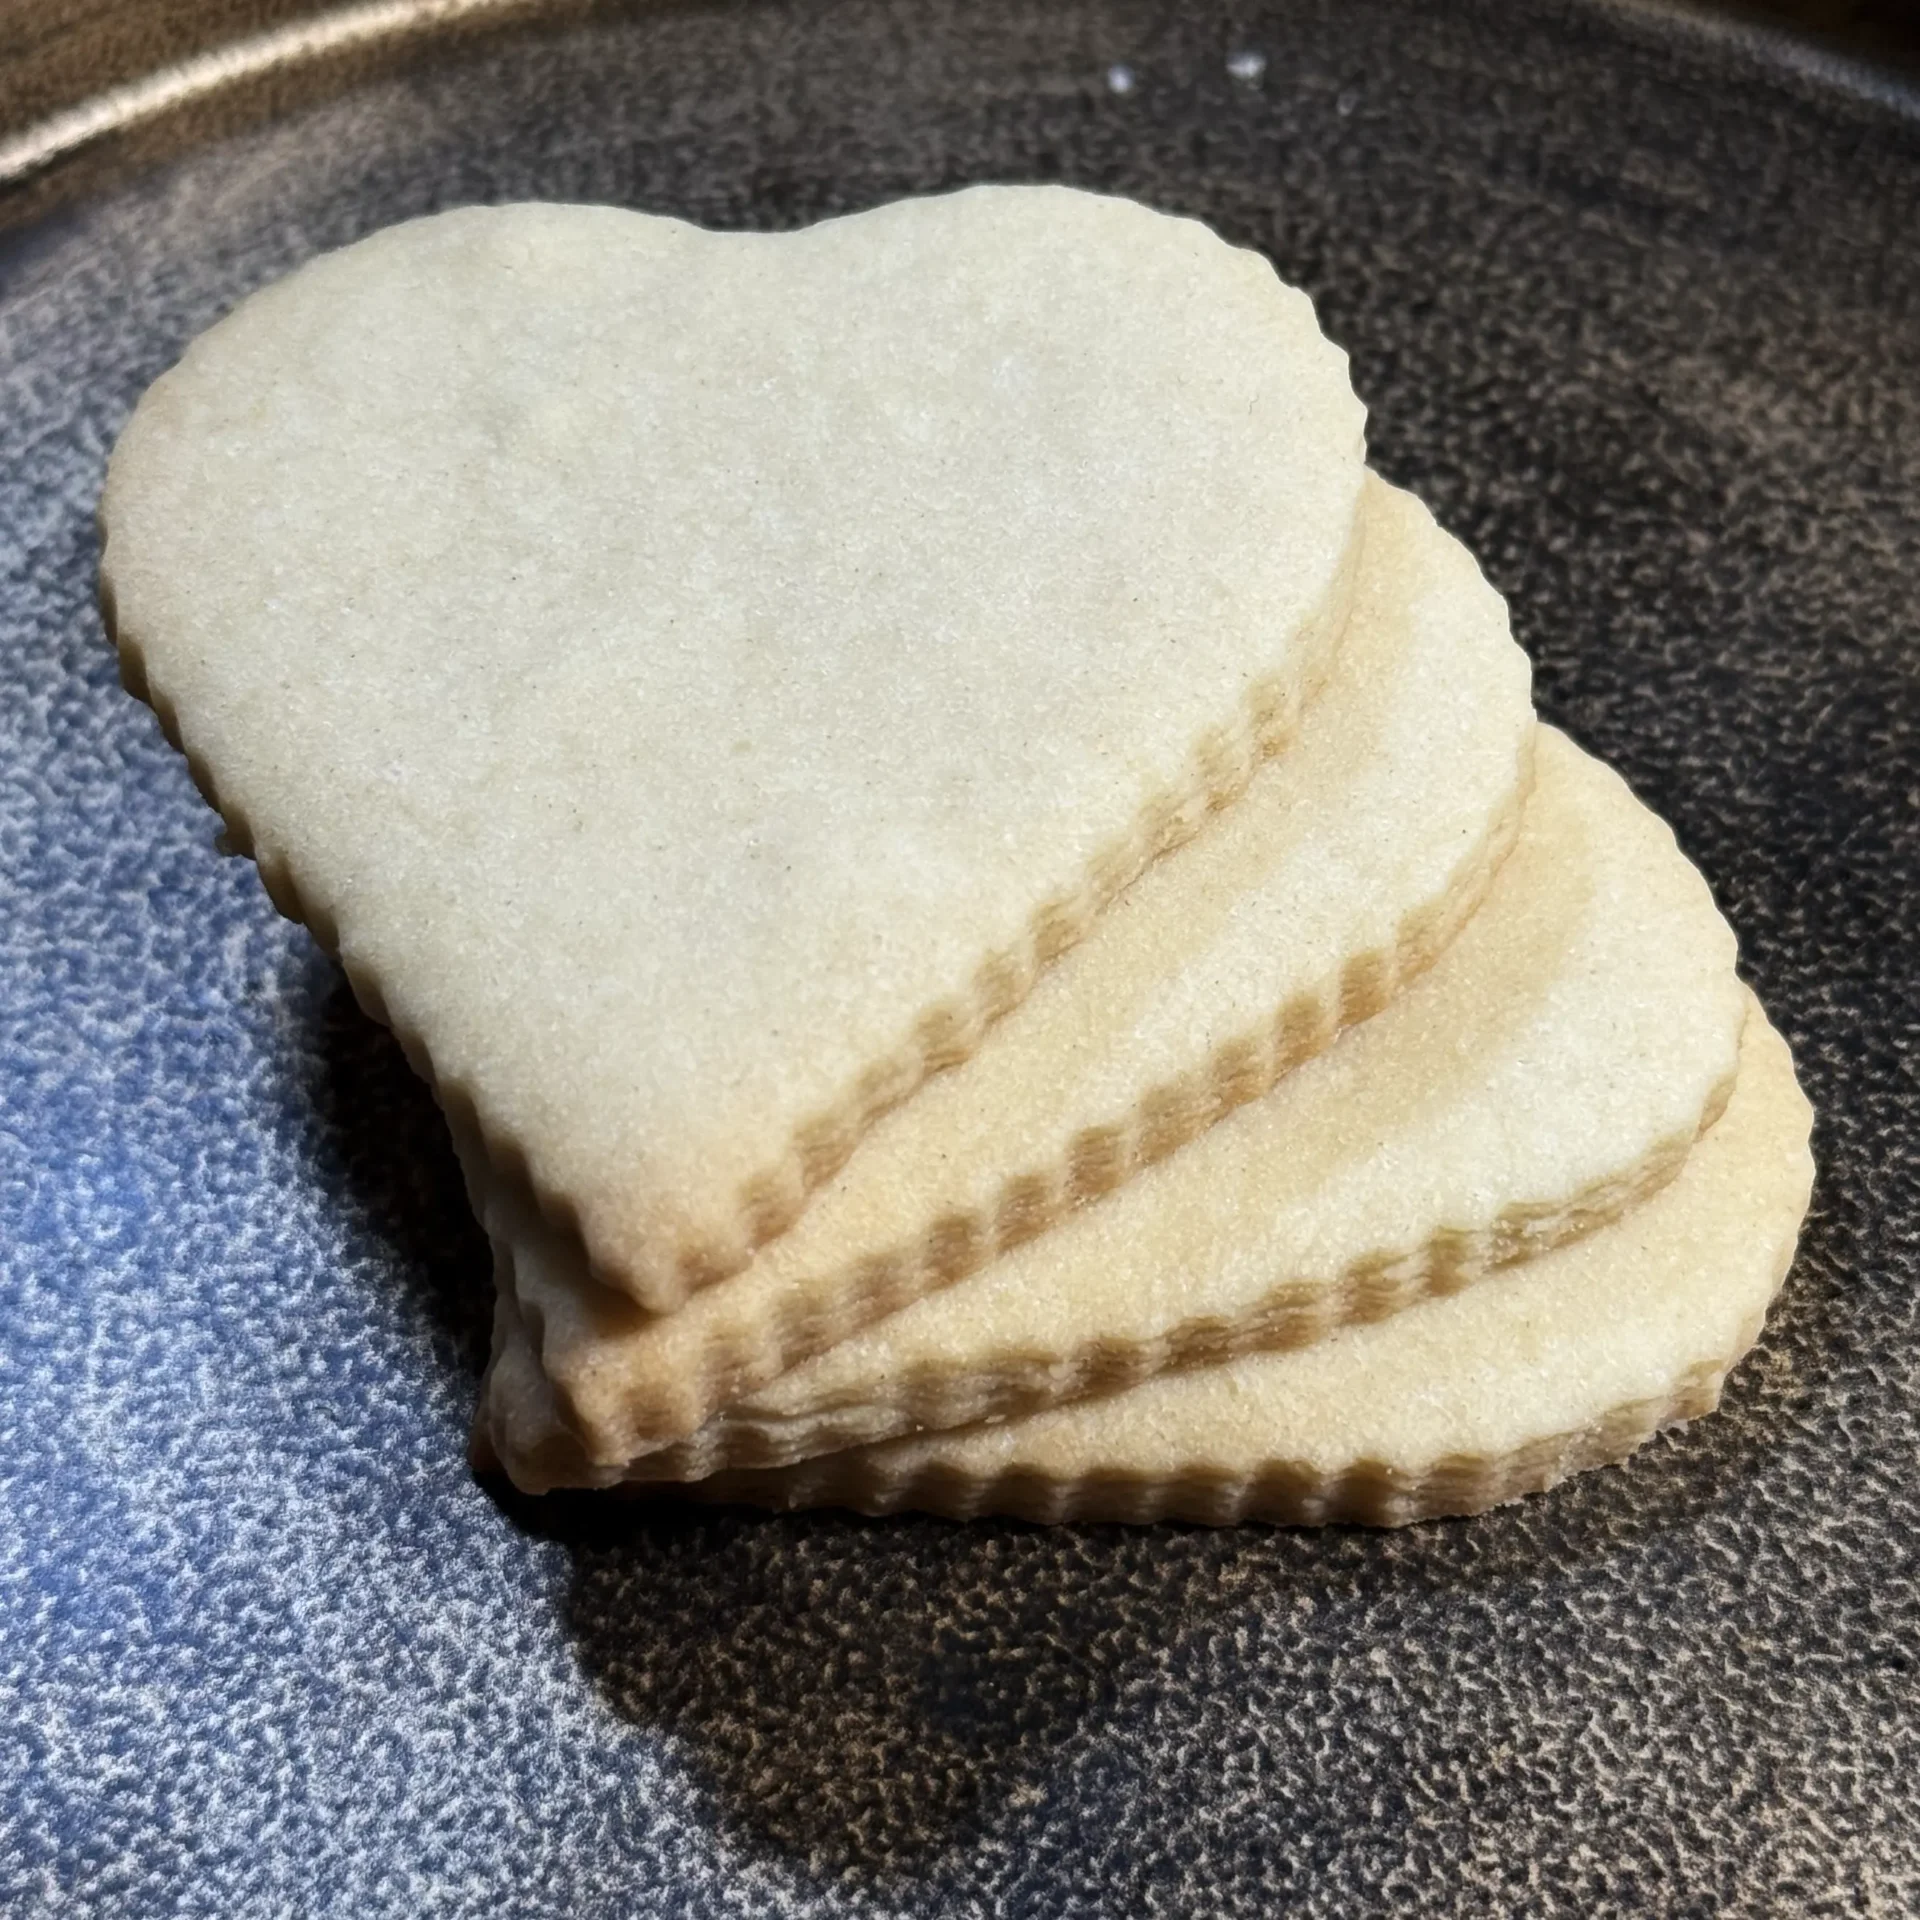
Thickness is one of the most critical technical factors. For decorated cookies, the ideal range is 6–8 mm. Within this range, heat distributes evenly, helping the cookie bake flat and maintain its structure. Too thin may lead to distortion; too thick may result in uneven baking.
Cookie Dough Types
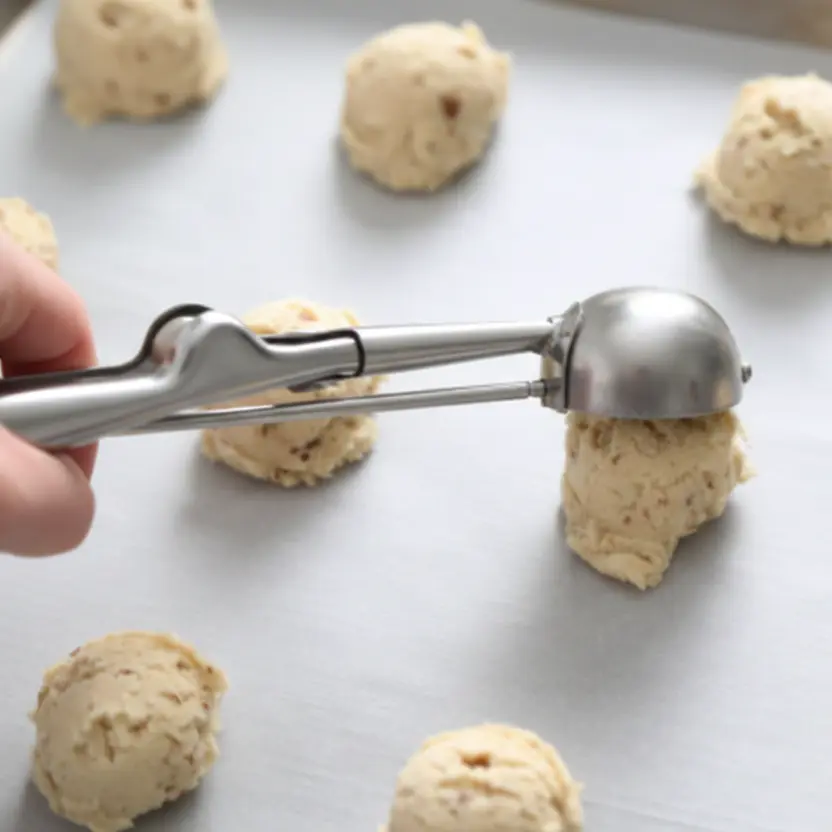
Not every cookie recipe is suitable for detailed decorating. Most importantly, you need a rollout sugar cookie recipe.
This is different from a drop sugar cookie recipe.
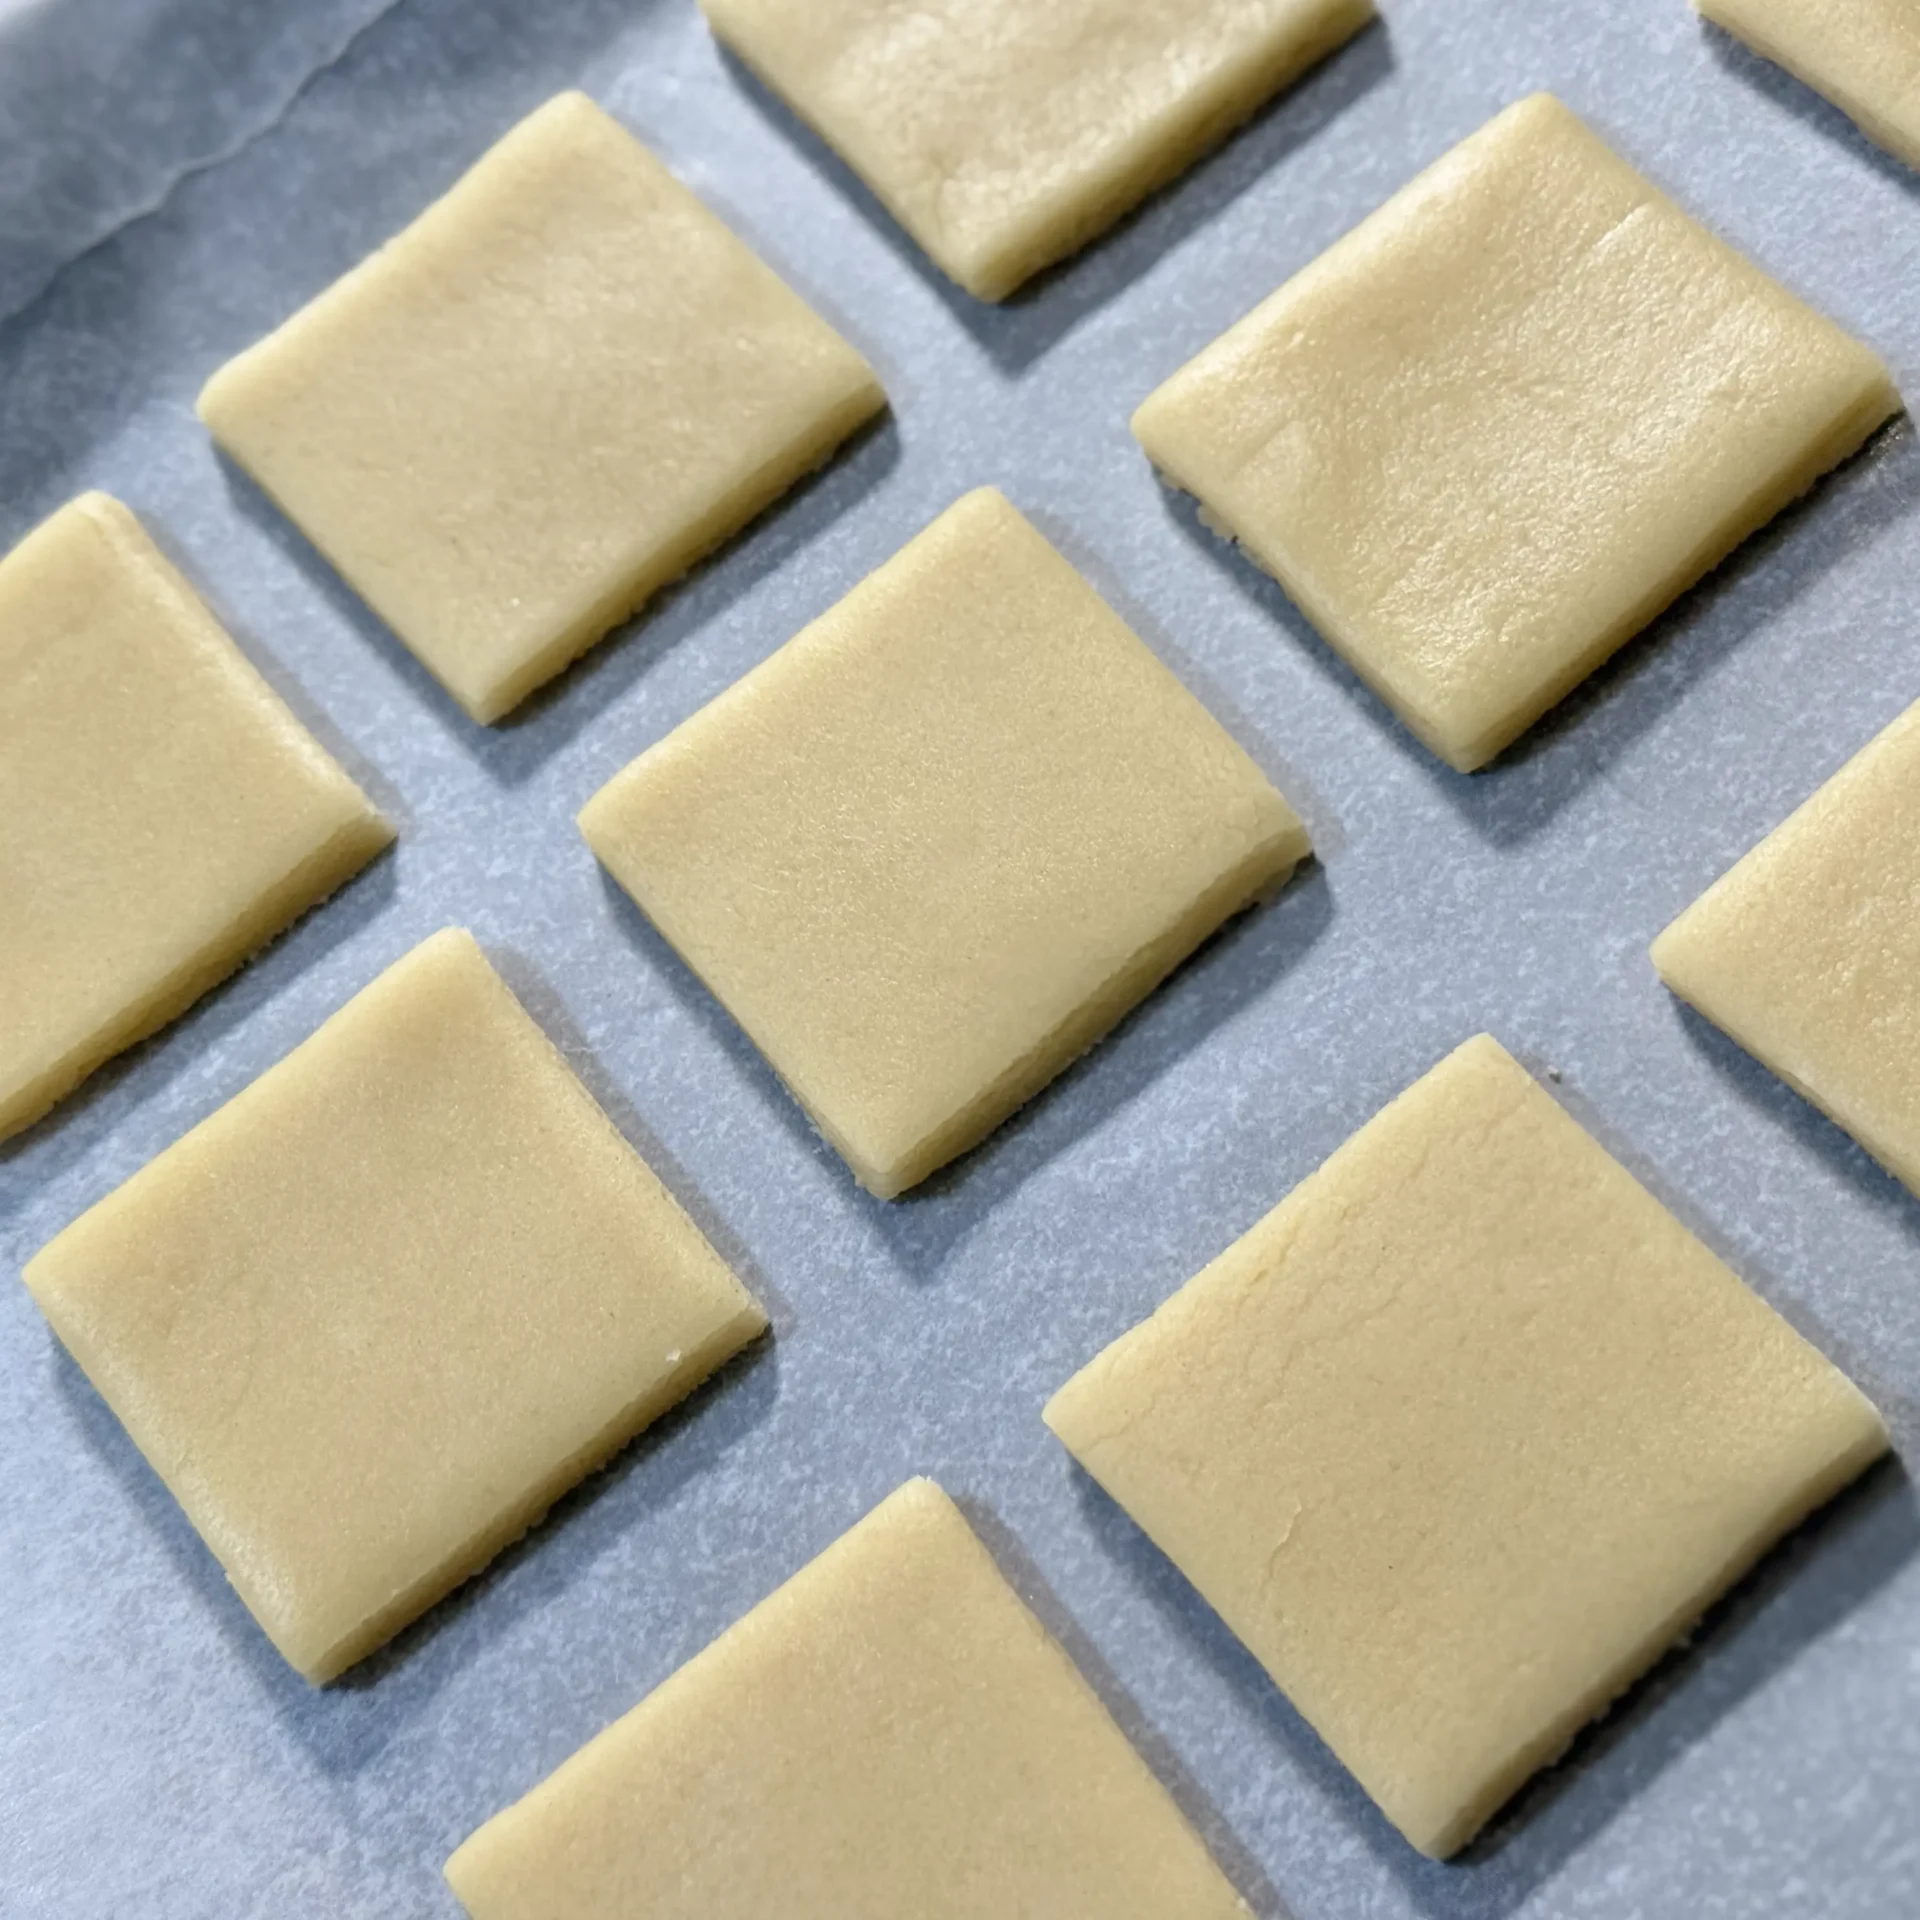
Rollout dough is designed to be rolled with a rolling pin and cut with cookie cutters. It holds its shape during baking and creates clean edges.
Drop dough is softer and spooned onto the baking tray. It spreads intentionally and is not designed for sharp decorative work.
Some doughs are soft and chewy.
Some are designed to spread.
Others are structured and firm.
For sharp edges and intricate designs, no-spread rollout doughs are preferred. These formulas typically include a higher flour-to-fat ratio and minimal leavening, allowing the cookie to maintain the exact cutter shape after baking.
Softer doughs may taste excellent, but they often lack the surface stability needed for precise painting or heavier royal icing layers.
Quick comparison:
- Drop Dough: Soft, spooned onto the tray, spreads during baking. Not suitable for precise decorative work.
- No-Spread Rollout Dough: Rolled and cut with cookie cutters. Maintains shape, structure, and clean edges—ideal for detailed decorating.
In decorative work, performance matters as much as flavor. The right dough simplifies the entire process and sets the foundation for professional results.
Cookie Base Preparation
A stable decorating surface comes from disciplined preparation—not just a good recipe.
Professional decorators use a “Chill–Cut–Chill” strategy:
- Roll the dough while fresh
- Chill to set the fats
- Cut shapes
- Chill again before baking
This process prevents gluten shrinkage and controls butter melt—two major causes of warping and distortion.
To maintain a perfectly flat base:
- Roll from the center outward
- Use leveling rings or thickness guides
These steps eliminate doming and create a level, smooth canvas ready for icing, painting, or advanced techniques.
With the right preparation, your cookies are not simply baked—they are structurally prepared for artistry.
Continue Your Learning Path
This lesson introduced cookie dough as a decorative surface and showed you how to build a stable, professional base for your designs.
In the next lesson, you will learn how to choose the right tools and ingredients, set up your workspace properly, and prevent common dough problems before they happen.
➡Next Lesson: Cookie Dough Basics | Tools, Ingredients, and Workspace Setup